Cooling Your Attic: A Guide to Turbine Vents and Proper Ventilation
Cooling Your Attic: A Guide to Turbine Vents and Proper Ventilation
Is your home feeling like a sauna in the summer, even with the AC cranked? The culprit might be a superheated attic. An attic that bakes in the sun can transfer that heat down into your living space, making your air conditioner work overtime and driving up your energy bills. The solution? Proper attic ventilation. A well-ventilated attic allows hot, trapped air to escape, drawing in cooler air from outside and creating a continuous airflow. This not only keeps your home more comfortable but also helps prevent moisture buildup, which can lead to mold, mildew, and damage to your roof's structure. One of the most effective and popular ways to ventilate an attic is by installing turbine vents .
What are Turbine Vents?
Turbine vents, also known as roof turbines or whirlybirds, are those spinning, dome-like vents you often see on rooftops. They are a simple yet highly effective solution for attic ventilation. The design is ingenious: as the wind blows across the roof, it causes the turbine's fins to spin. This spinning action creates a low-pressure area inside the vent, which sucks the hot, stale air out of your attic. But what if there's no wind? A well-designed turbine vent will still work. The natural convection of hot air rising is enough to create a slow but steady upward pull, ensuring that even on a calm day, some ventilation is occurring.
The Benefits of Installing Turbine Vents
- Energy Savings: By removing superheated air, turbine vents reduce the heat load on your home, allowing your air conditioner to run less frequently. This can lead to significant savings on your energy bills.
- Extended Roof Life: Extreme heat can cause your roofing shingles to become brittle and crack prematurely. By keeping the attic cooler, turbine vents help protect your roof's integrity and extend its lifespan.
- Moisture Control: A properly ventilated attic prevents moisture from becoming trapped, which is crucial for preventing the growth of mold and mildew. This also protects your insulation and the wooden structure of your roof.
- Improved Comfort: A cooler attic means a cooler home overall. You'll notice a difference in the comfort level of your living spaces, especially on the upper floors.
- Passive Operation: Turbine vents don't require electricity to work. They are a passive and eco-friendly solution for attic ventilation.
How to Install Turbine Vents
While the process of installing turbine vents can be a DIY project for the handy homeowner, it's a task that requires careful attention to safety and proper placement. Here's a general overview of the process:
- Assess Your Needs: You'll need to determine the right number and size of turbine vents for your attic. This is based on the square footage of your attic floor. A general rule of thumb is to have 1 square foot of net free area (NFA) of ventilation for every 300 square feet of attic space. It's often best to consult with a roofing professional to get the right calculations.
- Gather Your Tools: You'll need safety gear (gloves, goggles), a utility knife, a drill, a caulk gun, a saw for cutting the roof sheathing, and a measuring tape.
- Choose the Location: The highest point of the roof is the best location for turbine vents, as this is where the hottest air collects. Ensure the vent is installed on a flat, even surface and away from any obstructions.
- Cut the Opening: After marking the spot, you'll need to carefully cut a circular hole in the roof deck, large enough to accommodate the vent's collar.
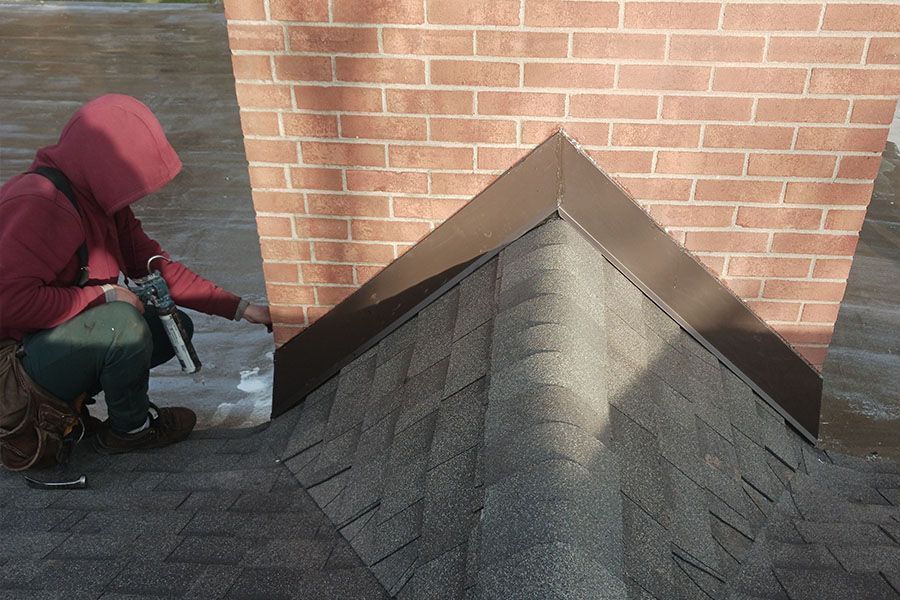
- Install the Base and Flashing: The base of the turbine vent, which includes a flashing plate, is placed over the opening. This flashing is crucial for preventing leaks. It should be slid under the shingles above the vent and over the shingles on the sides and below.
- Secure and Seal: The base is then nailed to the roof deck, and a generous bead of roofing cement or sealant is applied around all the edges of the flashing to create a watertight seal.
- Attach the Turbine: The turbine head is then placed onto the base and secured, often with screws or bolts.
A crucial note: Turbine vents are only part of the ventilation equation. For them to work effectively, you also need a way for cool air to enter the attic. This is where soffit vents come in. Soffit vents are intake vents located under the eaves of your roof. They allow cooler, outside air to be drawn into the attic, pushing the hot air up and out through the turbine vents. Without proper intake, your turbine vents won't be able to do their job efficiently.
The Bottom Line
Attic ventilation is not a luxury; it's a necessity for a comfortable and energy-efficient home. Installing turbine vents, in conjunction with proper soffit ventilation, is a smart investment that can pay for itself in energy savings and the extended life of your roof. If you're tired of a hot, stuffy home and high energy bills, it might be time to look up at your roof and consider a spinning solution to your attic woes.